Thursday, December 25, 2014

Sneeuwman/ Snowman


Deze sneeuwman is gemaakt met de 
stempelset Work Of Art. Ik heb het idee 
gevonden op het blog van mijn Amerikaanse vriendin Connie.
Zij heeft een duiselijke beschrijving op haar 
Ik kon het niet laten om het ook te proberen.
Het is echt een leuke kaart geworden. De bloem op de
hoet is uitgeknipt  uit een papiertje van TrimThe Tree DSP.

This snowman is made with the stampset
Work of Art and is inspired by the cards
on the blog of my American friend Connie.
You can find allthe details on her Inkspired Treasures Blog.
I could not resist making this card. The flower on the
hat is from one of the TrimThe tree Desiners series papiers.

Binnen in heb ik de tekst gestempeld. 
Deze komt van de set Mingle All The Way.
Verder nog een reepje papier geplakt ter versiering.

Inside I stamped the sentiment. This stampis
from the set Mingle All the Way.
For decoration i used another piece of paper from the
Trim The tree DSP.

Bedankt voor het kijken.
Een creatieve dag!

Thanks for looking
Have a creative day!
onafhankelijk Stampin'Up! demonstratrice


Thursday, December 18, 2014

Geld envelop/ Gift card

Nog even snel een geld envelopje maken.
Ik vond het idee online by Meg Loven en
op haar blog staat een duidelijke instruktie.

Just a quick and easy money envelope.
I found this idea online on Meg Loven's blog.
She has great instructions for you HERE.

Je kunt hiervoor lekker je restjes gebruiken.
Verder een stukje kaart papier,een envelop
en  als stempelset heb ik Mingle All the Way gebruikt.

It is great to use someleft over scraps for this.
Also you need some cardstock and I used
the stamp set Mingle All the Way.

De envelop wordt gesloten door een reep papier.

The envelop is closed with a strip of paper.

Langs de bovenkant van de envelop heb ik 
een strip washi tape geplakt van de set watercolor wonder.

Along the border of the top of the envelope
I taped  strip of washi tape from the set watercolor wonder.

De tekst is gestempeld met Pacific Point inkt.
Op de sneeuwvlokjes hebik nog wat glittersteentjes geplakt.

The sentiment is stamped with Pasific Point inkpad.
To make the snowflakes even sparkle more, I added
some tiny rhinestones.

Binnen in is door middelvan een dubbelgevouwen
envelop vakjes gemaakt om je geld in the stoppen.
Zie hiervoor de instructie op het blogvan Meg Loven.

Inside the compartments are made by a double folded
envelope to add your money gift. You find the instructions
on Magen Loven's blog.

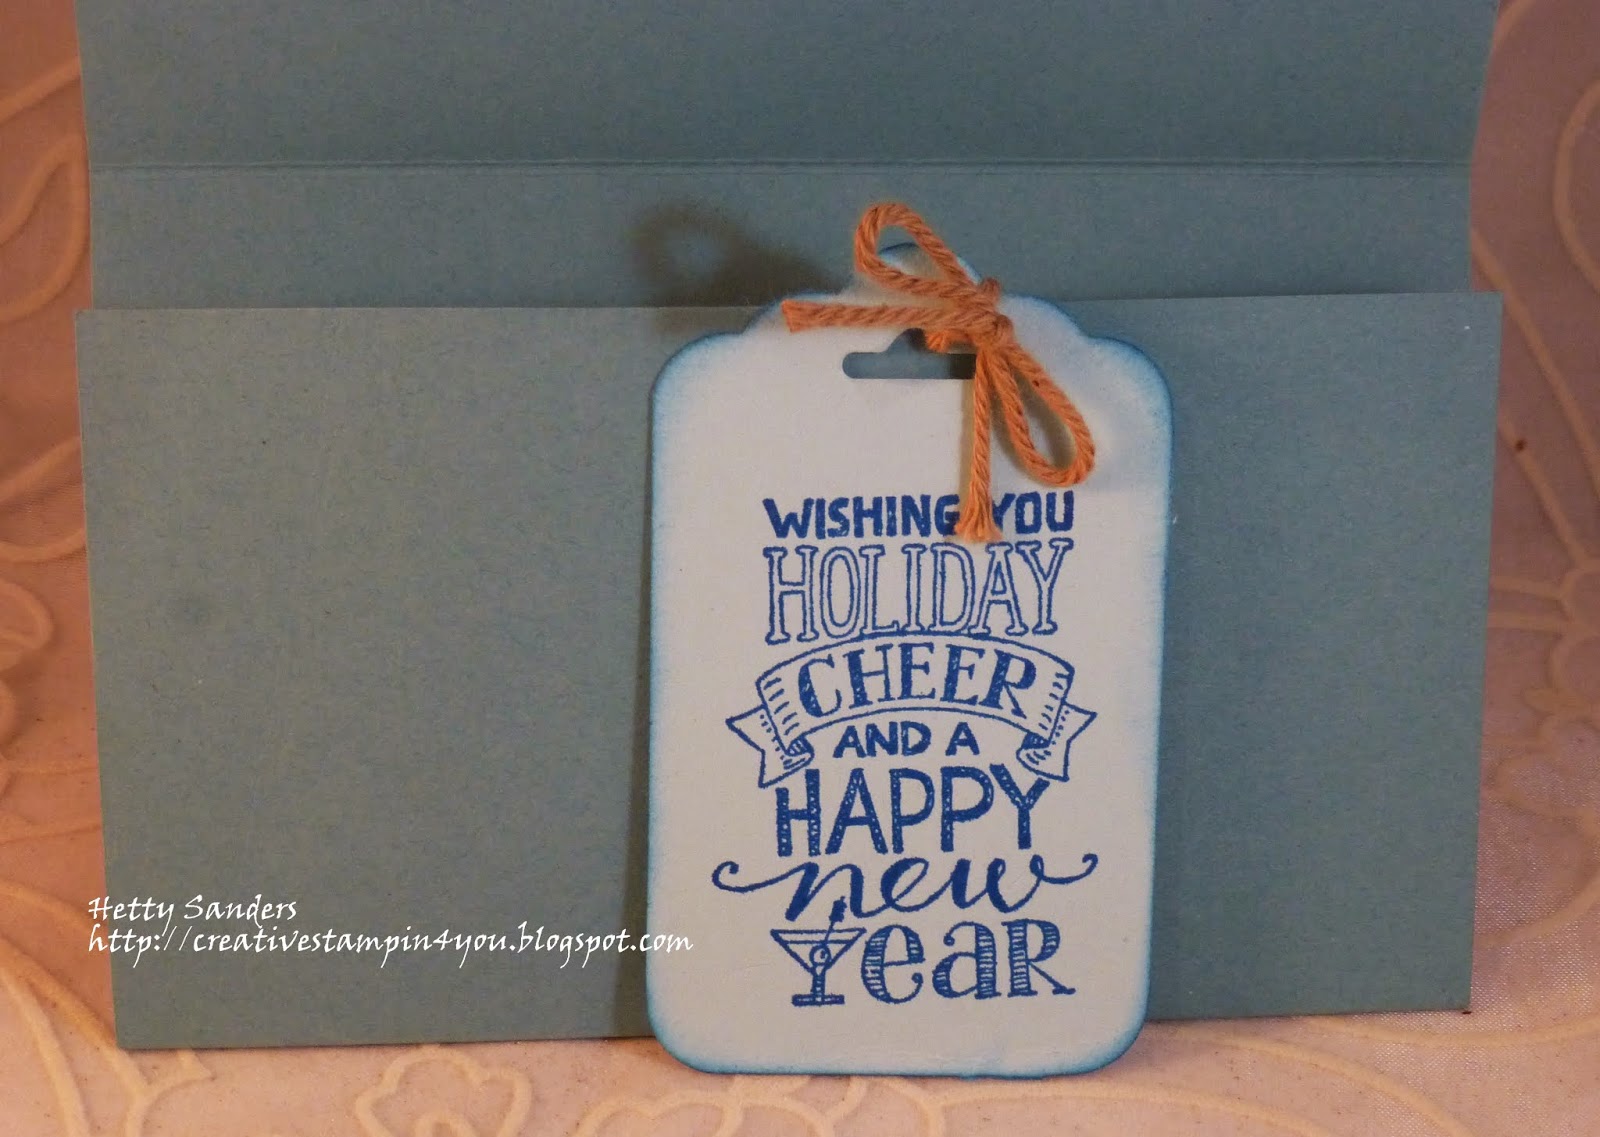
Naast het geld kan je er ook nog een klein tagje bij doen
met een wens of eigen geschreven tekst.

You can also add a little tag with the money. You can stamp
a sentiment or write your own text.

Deze enveloppen zijn echt eenvoudig en als je weet hoe
het moet heb je het in een kwartiertje af.

These money envelopes are realeasy. When you know
how it takes about 15 minutes to make.

onafhankelijk Stampin'Up! demonstratrice


Saturday, December 13, 2014

Dag 10 kerst inspiratie/ Day 10 Christmas inspiration

Vandaag een klein maar fijn ideetje.
Een tag voor aan je cadeautjes of om in de boom te hangen,
want hij is aan allebei de klanten gedecoreerd.
Je can er ook nog een noepje of chocolaatje in doen.

Today een nice litte idea for you.
A tag to hang from your presents or to hang in your tree
for this one is decorated on both sides.
You can also add a candy cane or chocolate inside.

Begin met een strookje kraft papier van 5 x 15 cm.

Start with a pice of craft paper 2 x 6 inch.

Om een mooie bovenkant te krijgen heb ik de 
Scalloped Tag topper punch gebruikt.
Heb je die niet dan maak je alleen een gaatje boven aan.
Pons aan beide zijde van de tag.

To have a nice top I used the Scalloped Tag topper punch.
If you don't have this punch, you make a hole on top
of your tag. Punch on both sides of the strip.
De tag ziet er nu zo uit.
Nu emboss je de tag met de Tiny Triangles embossing folder.
Met encore goud inkkussen de hogere delen gekleurd.

This is how the tag is looking now.
Before going on, I embossed the tag with the Tiny Triangle
embossing folder. With the encore gold inkpad I colored
the raised parts of the tag.
Vouw de tag nu dubbel.

Fold the tag in half.

Voor decoratie heb ik de set Festival of Trees gebruikt met de
bijpassende pons en ook de Bitty banner framelits
omde tekst op ste stempelen.

For decoration I used the stampset Festivalof Trees
and the matching punch. I also used the Bitty Banners
for the sentiments.

En zo ziet de tag er vanbinnen uit.

This is how the tag looks inside.


onafhankelijk Stampin'Up! demonstratrice


Thursday, December 11, 2014

Dag 9 Kerst inspiratie/ Day 9 Christmas inspiration

Vandaag wil ik graag met je delen een geweldig
leuke en eenvoudige achtergrond techniek, die ik op
internet heb gevonden. Het is een video lesje, dus kijk hier.

Sharing this wonderful background technique with you,
that I found on the internet. It is a video tutorial
and you can see it here.

Ik hoop dat jullie deze techniek net zo leuk en makkelijk vinden
als ik. Jammer dat je op een foto toch niet zo goed het glitter ziet,
maar het is er echt hoor!

I hoop you like this technique that is so much fun and so easy.
It is a pity you do not see the glimmer as much on the photo,
but it is really there!

Gebruikte materialen/used materials:
Kinda Eclectic stamp set
Real Red ink pad
Vanilla Shimmer Smooch Spritz
Cherry Cobler and White paper
Trim the Tree designers paperstack
Real Red Ribbon


onafhankelijk Stampin'Up! demonstratrice


Wednesday, December 10, 2014

Dag 8 Kerst inspiratie/ Day 8:Christmas inspiration

Voor het kaartje van vandaag heb ik een embossing folder
gebruikt om deze achtergrond te maken. Het is een techniek van
de Technique Junkies die heet: Antiqued Wallpaper.
Je doet het volgende:

For today's card I used an embossing folder to make
this background. It is a technique from the Technique Junkies
and called Antiqued Wallpaper and this is what you do:

Eerst emboss je je papier,
dan doe je inkt aan de verhoogde delen
spray water er op of 
zoals ik hier gedaan heb: Vanilla Shimmer Smooch Spritz
dan leg je je papier op de embossingfolder
en haal je hem nogmaals door je big shot.

Start with ebossing your paper
than add  ink to the raised parts
sprits with water of as I did here
spritz with Vanilla Shimmer Snooch Spritz
lay your paper on top of the embossing folder 
and run it again through the big shot.

Voor deze kaart heb ik gebruikt:

White Christmas stempel set
Juiste woorden stempel set met Nederlandse teksten
lost lagoon inkt kussen
kraft,white en lost lagoon papier

For this card I used:

White Christmas stamp set
Dutch stamp set (special edition)
Lost Lagoon ink pad
kraft,white and lost lagoon paper
decorative dots embossing folder

onafhankelijk Stampin'Up! demonstratrice


Tuesday, December 9, 2014

Dag 7 Kerst inspiratie/ Day 7 Christmas inspiration

Lang leve pinterest.Zoveel leuke ideeen en deze komt
daar vandaan. Een pinwheel voor de kerst.

Wonderful Pinterest with so many ideasand this is
one of them. A pinwheel for Christmas.

Trim the Tree design papers zijn hiervoor reuze handig,
want je kunt ze aan twee kanten gebruiken. Snij 8 vierkantjes
van 3x3 cm. Gebruik van vier de ene kant en voor de
andere vier de andere kant.

Trim the Tree design papers are  great to use for 
this technique, because you can use it both sides.
Cut 8 squares of 1 1/4 x 1 1/4 inch. Use 4 squares
on one side and the other 4 on the other side.

Kijk goed naar het plaatje hoe ze over elkaar te leggen.
De eerste en de laatste zijn altijd even lastig.

Have a good look on how to lay the squares on
top of each other. The first and the last one are 
a little tricky.

Voor deze kaart heb ik een andere manier gebruikt.

For this card i made the pinwheel a little different.

Hier gestart met twee vierkantjes van 3,5 x 3,5 cm
en die over elkaar geplakt. Daarna pas de vierkantjes 
erop geplakt. Let goed op dat je het eerste vierkantje
alleen een klein stukje vast plakt,zodat je de laatste
er nog goed tussen kan schuiven.

Here I started with 2 squares 2 5/8 x 2 5/8 inch and
glued them on top of each other, then I glued the squares 
on top. Watch out with the first and the last square.
 Only use a little  glue on the first,because you need
 to be able to lift it to add the last one.

De achtergrongd is geembossed met een embossingfolder
en de tekst stempel is van de set Wonderous Wreath.
De knoop in het midden is uit de set 

The background is embossed with an embossing folder
and the sentiment is fromthe set Wondrous Wreath.
The buttons are from the Very Vintage Design Buttons.


onafhankelijk Stampin'Up! demonstratrice.


Monday, December 8, 2014

Dag 6 Kerst inspiratie/ Day 6 Christmas inspiration


Ik heb en bijzonder druk weekend achter de rug
en dus een paar super gemakkelijke kaarten.
Design papier en een pons doet wonderen.
Sorry dat deze punch niet uit de recente 
catalogus is. Je kan ook een ronde punch nemen
of een andere die jij wel hebt.

I had a very busy weekend,
so today i need some super easy cards.
Design paper and a punch makes life so easy.
Sorry about the punch not being from this cataloge,
but you can also use a circle punch or one that
you have yourselve.


Je kan een effe achtergrond nemen en dan
de ballen uit design papier of
je neemt het design papier als achtergrond
en effen kerstbal. Een lintje of washi tape
om de bal aan te hangen, een strikje om de
bal en eventueel wat glimmende steentjes.

De tekst is van de stempel set Sassy Salutations.

You can use a plain background and punch the baubles
out of the design paper or you take the
design paper as the background and make plain baubles.
A ribbon or some washitape to hang the baubles from.
A ribbon around the baubles and some rhinestones.

The sentiment is from the Sassy Salutations set.


onafhankelijk Stampin'Up! demonstratrice